A display in the stands can give you the best photo of the whole match. Red smoke, silhouettes with flags, a banner the size of the stand. It's also the hardest thing to shoot: fire is many times brighter than the rest of the frame, smoke changes every second, and you're often far away with no second chance.
Safety first
Flares burn at over a thousand degrees and the smoke stings your eyes and throat. In many countries pyrotechnics are banned in stadiums, so the photographer's job is to document what happens, not to encourage a show.
- Keep your distance from the section. A good photo of a display is taken from the side or from the other end of the pitch, not from right under the stand.
- Listen to the stewards and security. If they tell you to move, move.
- Protect your gear: a protective filter on the lens and a cloth in your pocket. Ash and soot from flares like to settle on glass.
- With a lot of smoke around, keep a snood or a mask handy.
Exposure: for the fire, not the stand
This is the most common mistake. The camera sees a dark stand and brightens the photo, so the flares turn into white blobs with no colour. Expose for the brightest part of the frame:
- with auto ISO, dial exposure compensation down by 1–2 EV,
- watch the histogram: the right side must not be clipped, especially in the red channel,
- 1/250–1/500 s is usually enough. The fans are standing, and slightly blurred smoke looks good,
- for waving flags and jumping, go back to 1/1000 s.
A darker photo is fine here. The stand should stay in shadow and the light from the flares should draw the silhouettes.
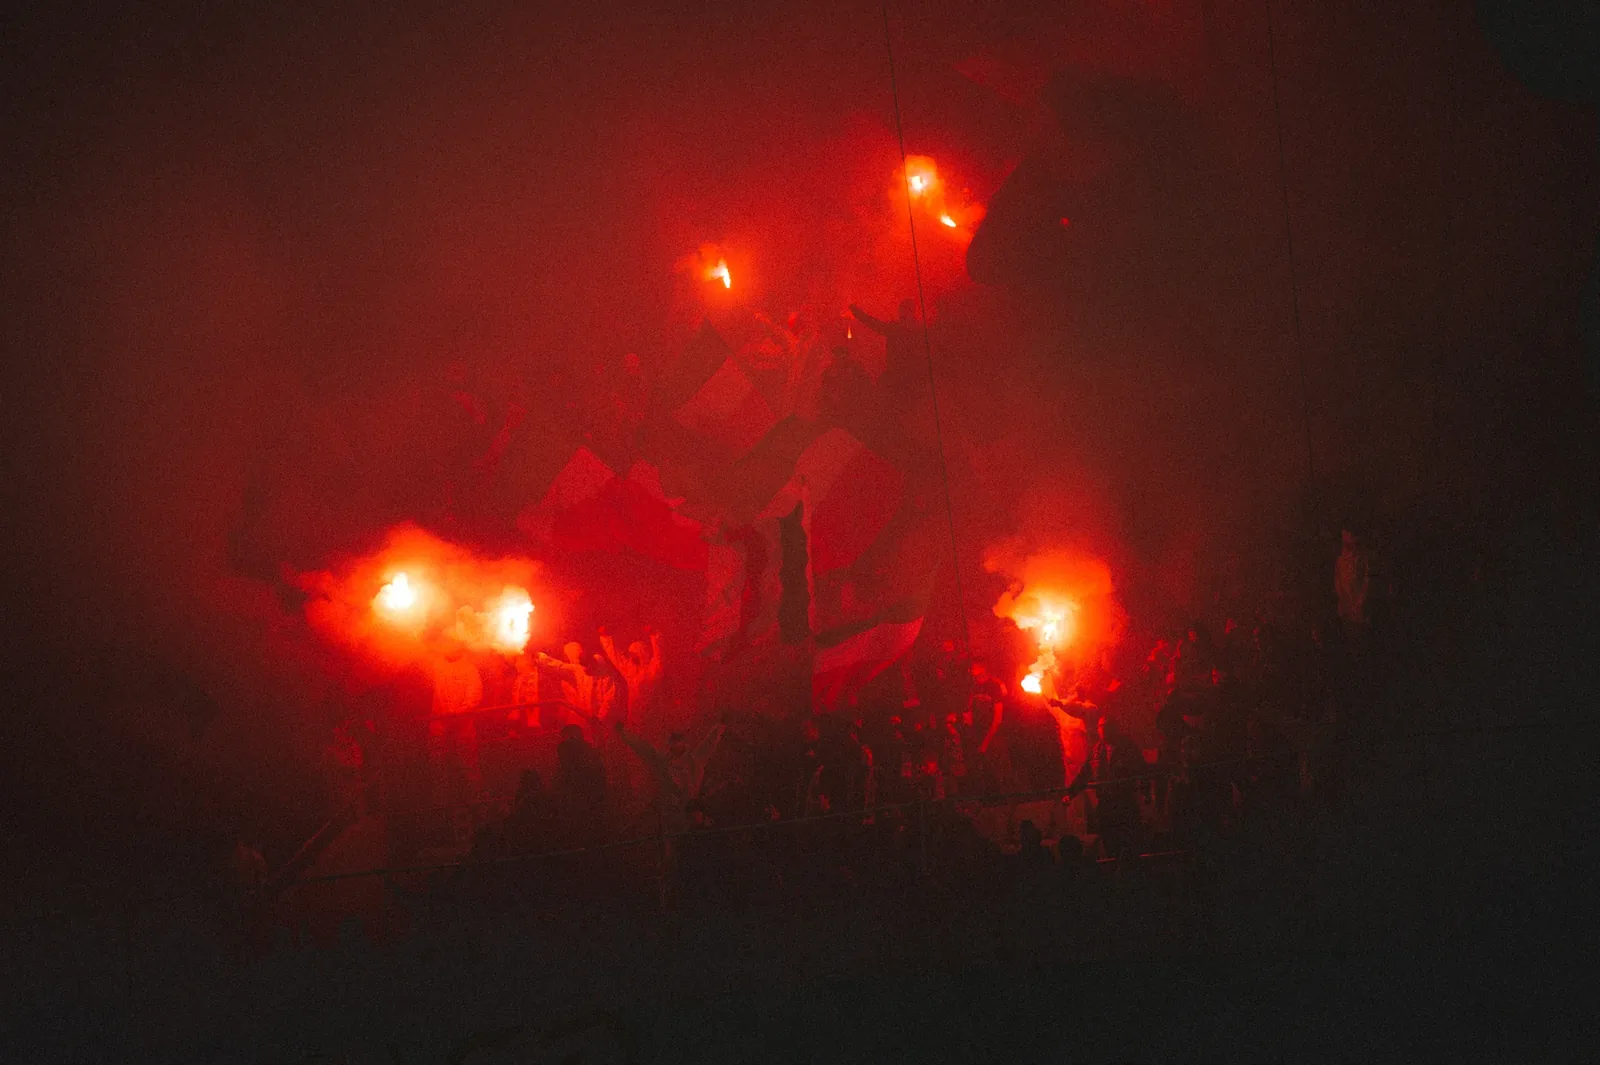
White balance: don't kill the red
Flares burn very warm. Auto white balance tries to "fix" it and turns the red into a muddy pink. Set white balance manually, roughly as you would under floodlights, and keep the warmth. That red is the mood of the display.
Where to stand and what to frame
- The whole stand: a wide shot from the other side of the pitch shows the scale of the display together with the banner.
- Silhouettes: fans against the light of the flares, with flags and scarves. Usually the strongest photos.
- Details: a hand holding a flare, a flag in the smoke, the words on a banner.
- Context: players on the pitch with the burning stand behind them. A photo like that tells the story of the match, not just the fans.
Displays usually come when the teams walk out, at the start of the second half and after goals. Fan groups often announce them on social media, so it's worth checking before the match.
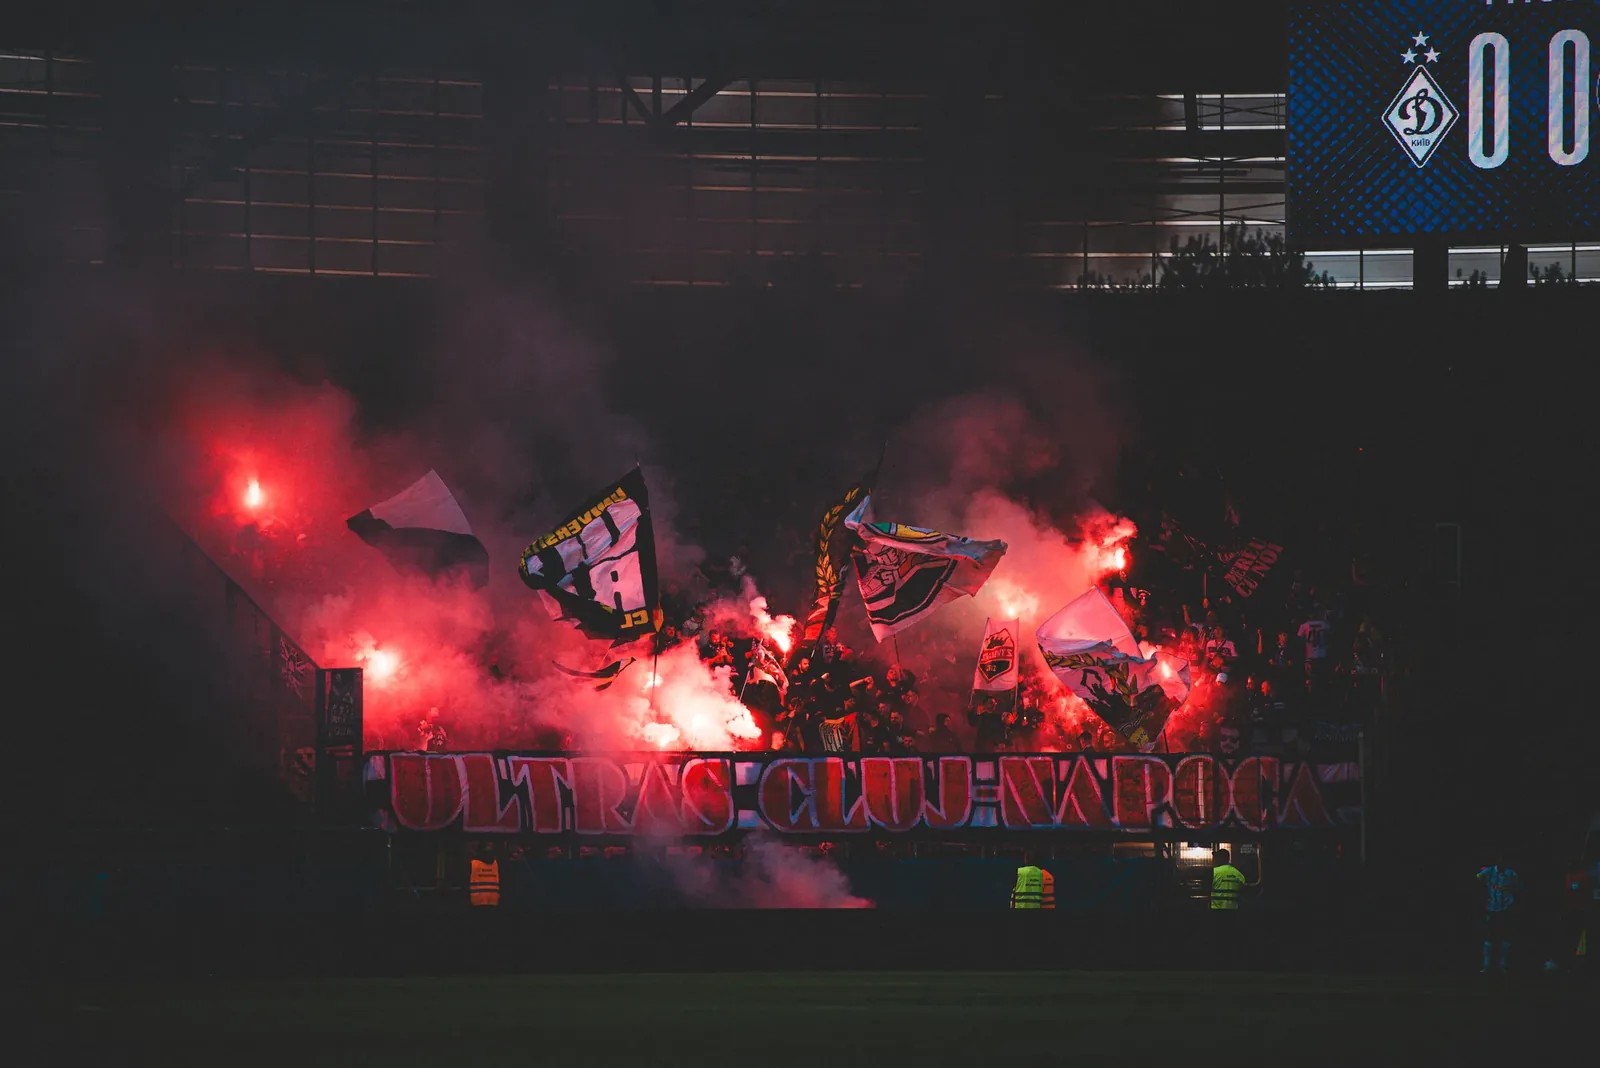
Fans and their image
A photo of a stand where people are part of the crowd at a public event is different from a portrait of one person. Still, many fans don't want to be recognisable in photos with flares. Respect that, especially with close-ups, and don't use such photos in advertising without the consent of the people in them.
Editing: highlights, red, smoke
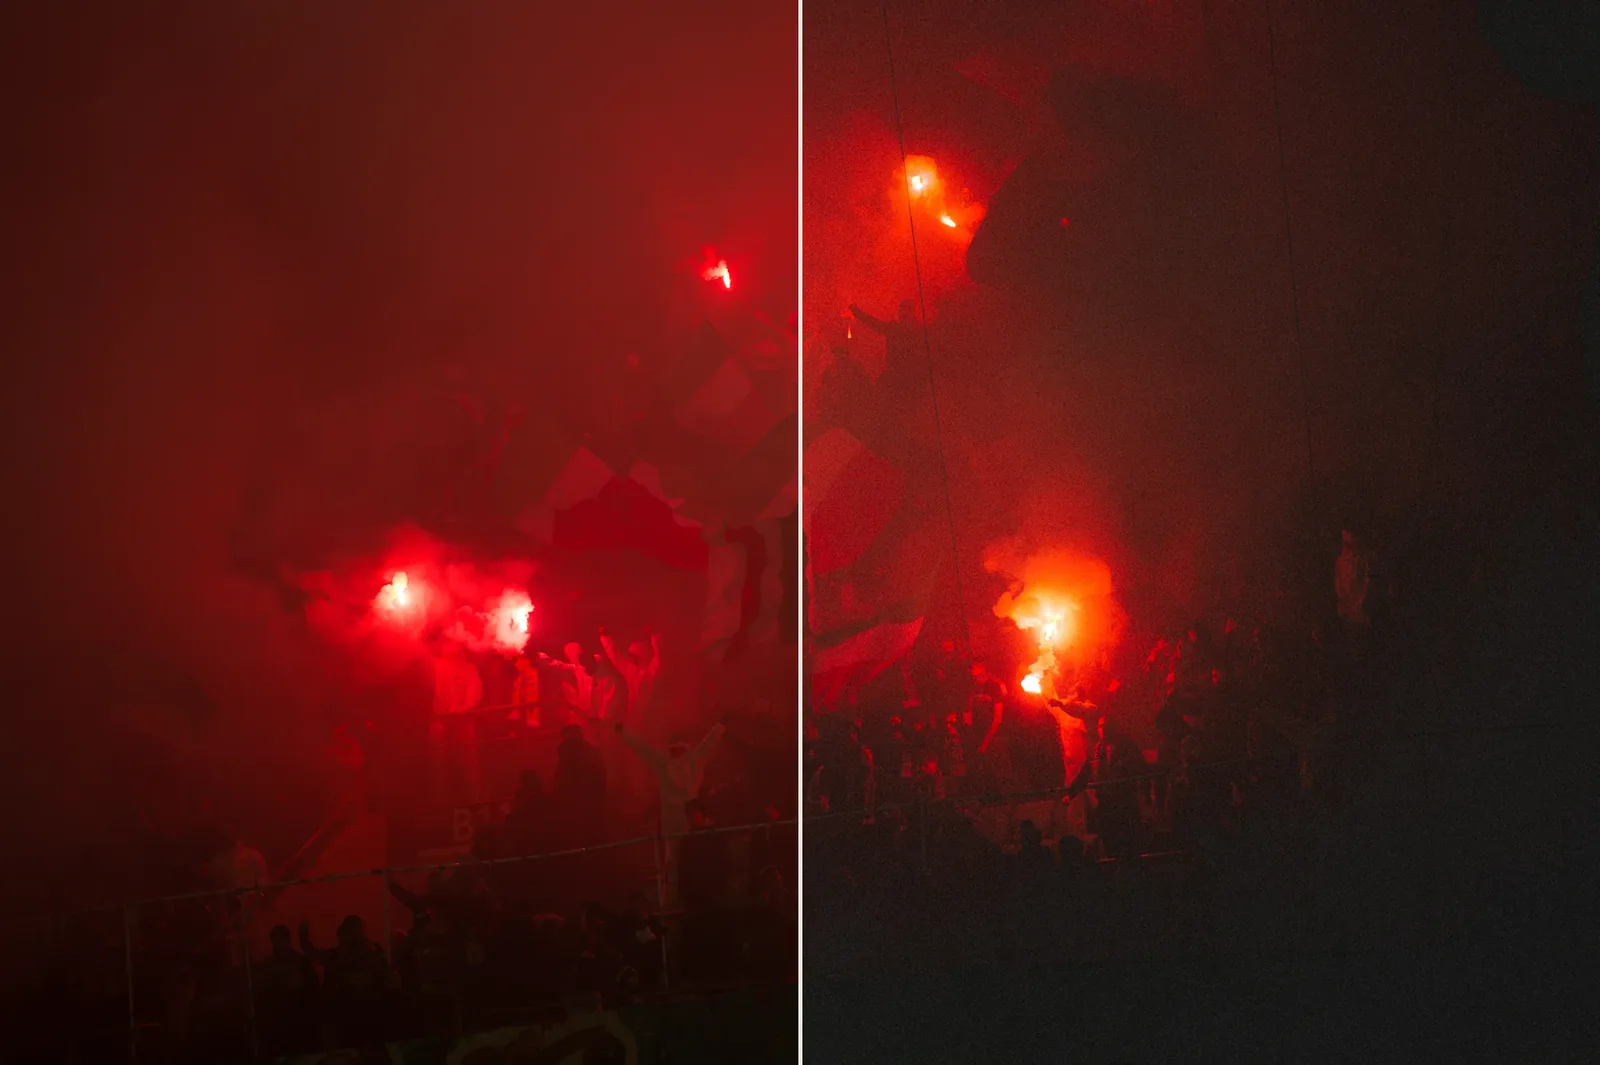
Flare photos need different editing from ordinary match photos:
- highlights down: recover detail in the fire and the brightest smoke,
- keep the red under control: red saturation in HSL slightly down rather than up, or the colour clips,
- smoke with depth: a little Dehaze adds structure, too much turns smoke into a dirty wall,
- noise reduction: with a dark stand and high ISO, almost always.
My presets include separate settings for flares. They keep the red and the smoke under control while the silhouettes stay readable.
Quick cheat sheet
- Safety and distance from the section come first.
- Expose for the fire: −1 to −2 EV, histogram with no clipped red.
- 1/250–1/500 s, 1/1000 s for movement.
- Manual white balance, keep the red.
- Frames: the whole stand, silhouettes, details, players against the display.
- Editing: highlights down, red under control, go easy on Dehaze.