Kick-off at 8:30 pm, November, a ground whose floodlights have seen better days. That is most evening football below the top leagues, and it is exactly where it's easiest to come home with blurry, noisy, oddly yellow photos. Here is what I do under floodlights, from settings to editing.
Shutter speed first, everything else after
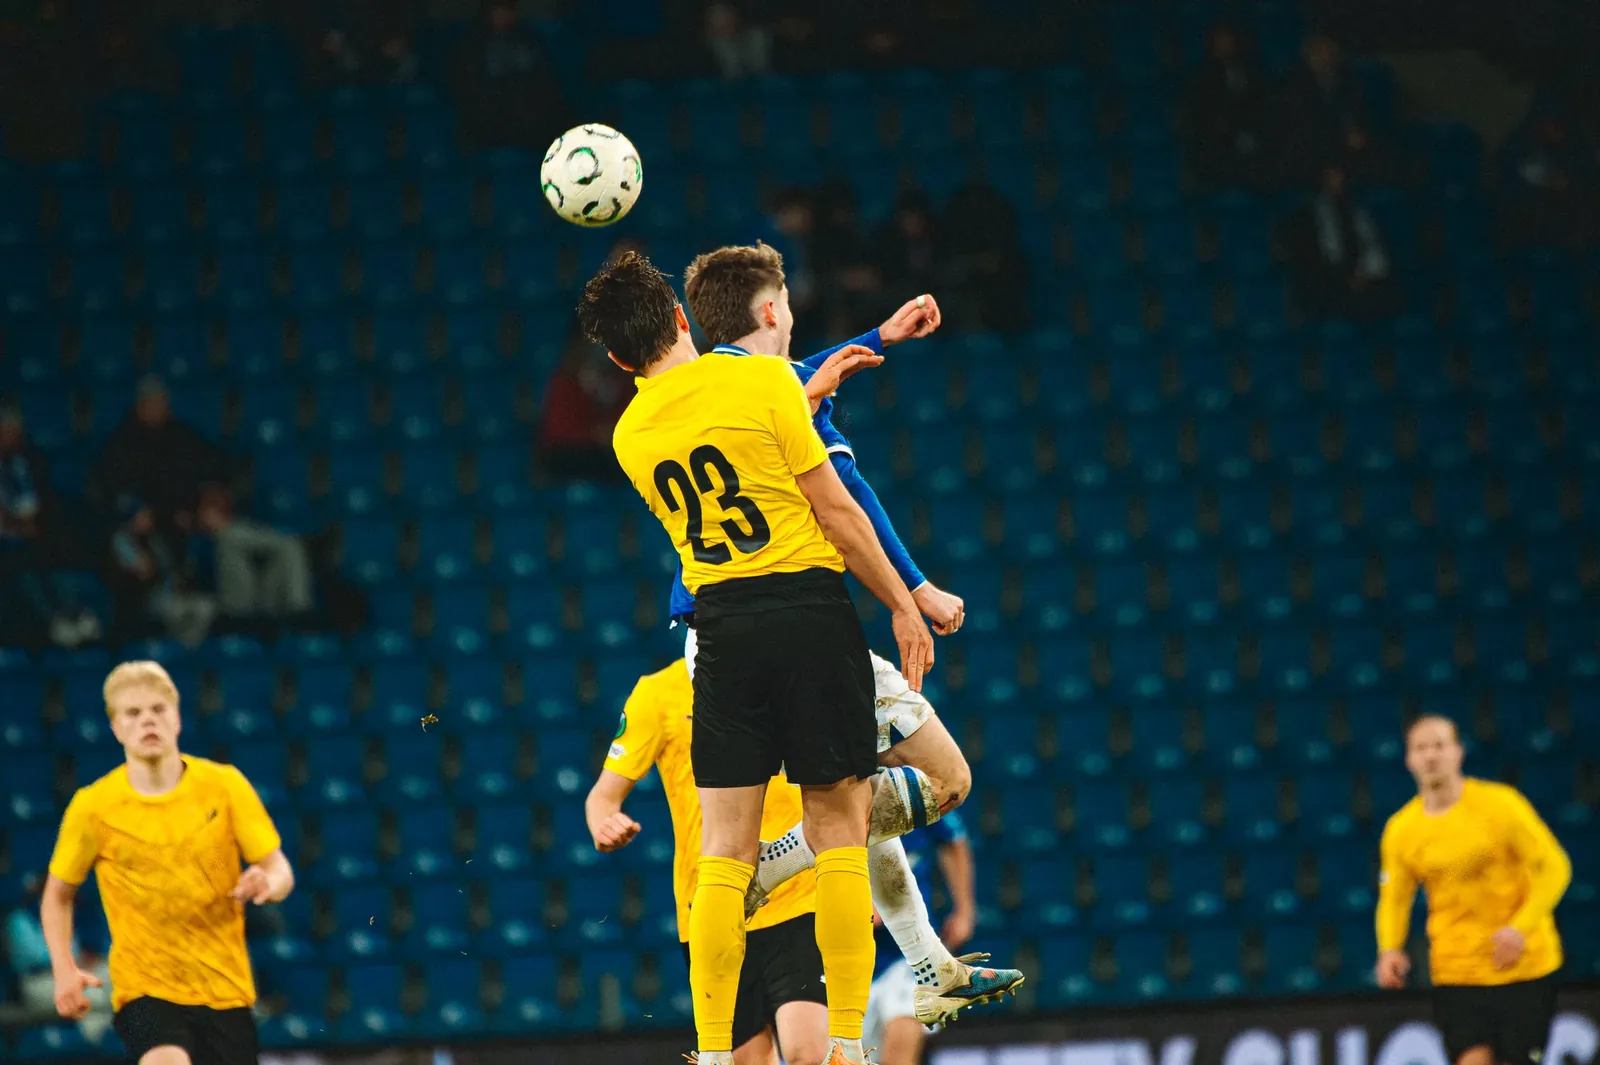
In football everything starts with shutter speed. To freeze a player running you need about 1/1000 s. For shots, tackles and aerial duels go for 1/1250–1/1600 s, because the leg and the ball move faster than the rest of the body.
In poor light it's tempting to drop to 1/500 s. Sometimes that works when the action comes straight at you, but anything moving across the frame gives you blurred feet and a ball turned into a streak. I'd rather have a noisier photo than a blurred one. Noise can be cleaned up in editing, motion blur can't.
ISO: don't be afraid of high values
Under floodlights at a lower-league ground I realistically work at ISO 3200–6400, and at poorly lit venues 10,000 and above. At big stadiums with strong lighting, 1600–3200 is often enough.
A good way to start: manual mode with 1/1000 s and auto ISO with an upper limit you can live with. The camera picks the sensitivity and you can focus on the game. Just watch that ISO doesn't jump every time the background changes, for example when bright advertising boards come into the frame.
Metering and exposure
Floodlights shine from above and from the side, and behind the players there's often a dark stand. In matrix metering the camera sees a lot of black and brightens the photo, so faces and white shirts burn out. That's why at evening matches I:
- check exposure on the first few frames and look at the histogram, not the screen,
- drop exposure by 1/3–2/3 EV when a team plays in white,
- prefer a slightly dark photo to a blown-out one, because a RAW file gives you a lot back from the shadows.
White balance: set it manually
Auto white balance under artificial light can change colour between frames of the same move. In the gallery the grass is green in one photo and yellowish in the next. Set white balance manually in Kelvin: start around 4000–4500 K for modern LED lamps and 3200–3800 K for older yellow lamps. Take a photo of a white pitch line or the referee's shirt and adjust until white looks white.
You shoot RAW, so you'll fine-tune it in editing anyway. The point is that every photo from the match has the same starting point, so you can edit them in one go instead of one by one.
Flickering lamps: stripes and colour shifts
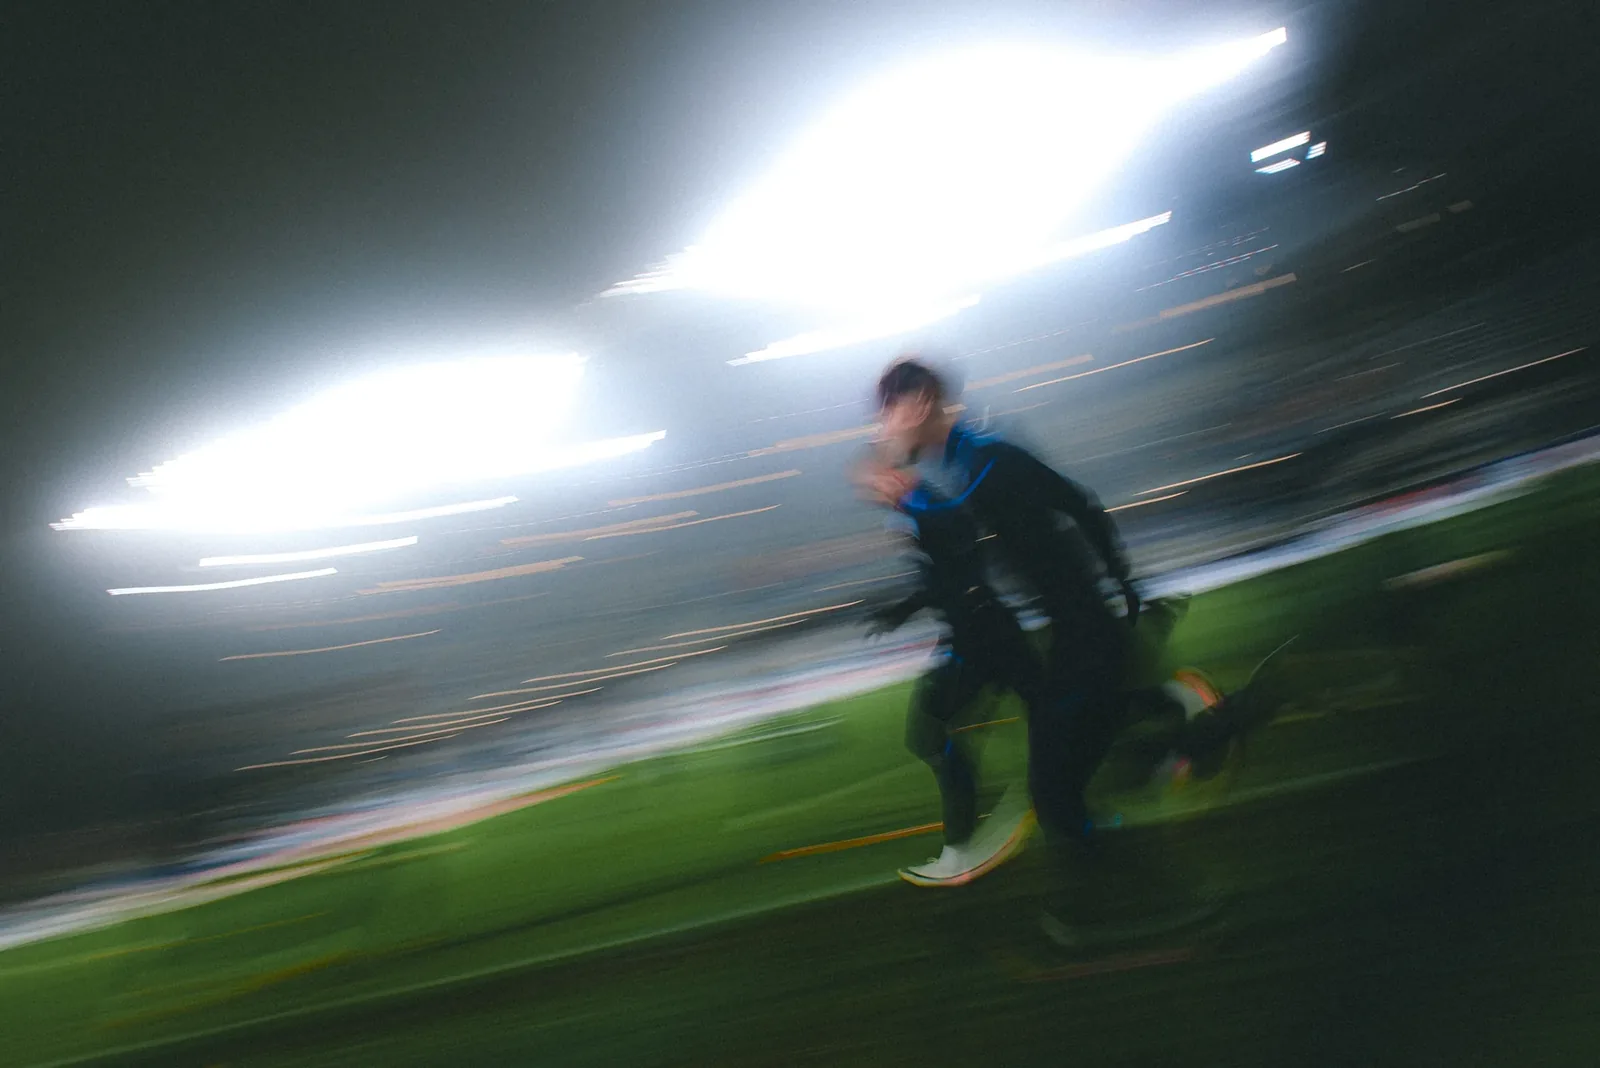
Many stadium lamps flicker with the frequency of the mains supply. You can't see it with the naked eye, but at fast shutter speeds the frames in one burst come out with different brightness and colour, and with an electronic shutter you get horizontal bands.
- If your camera has flicker reduction, turn it on.
- Under older lighting use the mechanical shutter rather than the electronic one.
- Shoot short bursts. Out of 4–5 frames at least one will land when the lamp is at its brightest.
Where to stand
Under floodlights your position matters more than in daylight. Look at where the masts are. The best light falls on the players' faces, not their backs. At many grounds one half of the pitch is clearly brighter than the other. Check it during the warm-up before you start chasing the first moves.
The warm-up is a good test in general: a few frames of players near the line, a check of focus, ISO and white balance. In the first minute of the match there's no time to dig through menus.
Focus in the dark
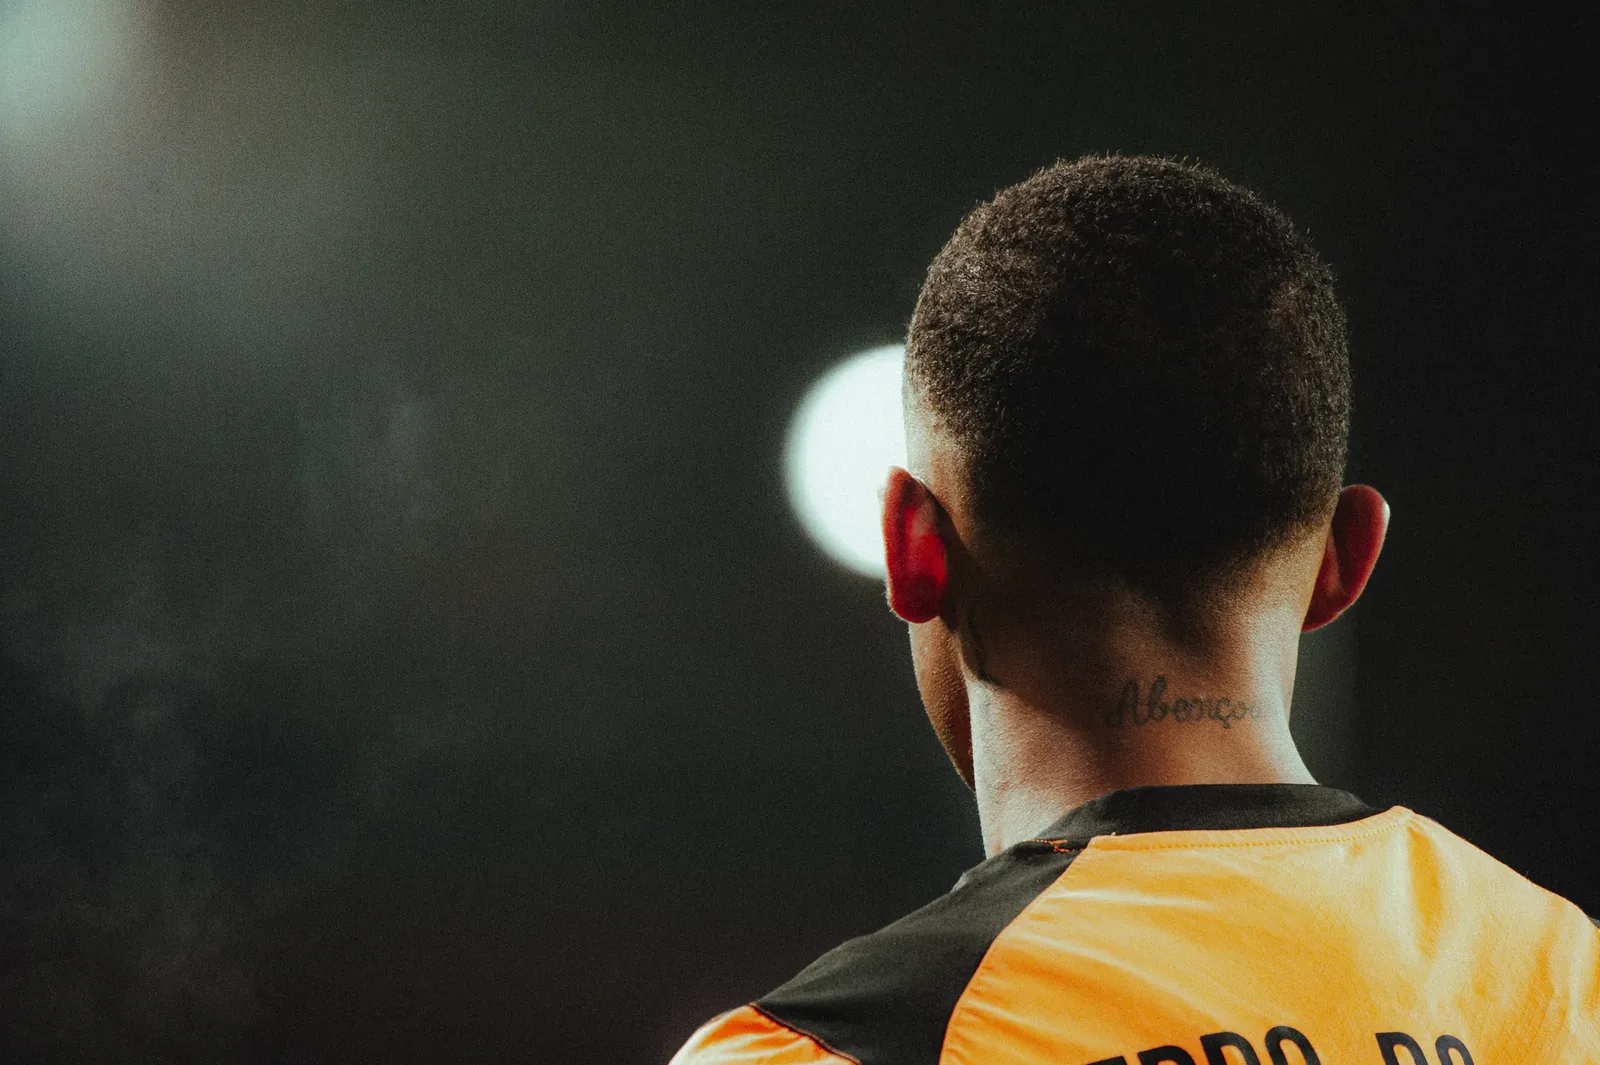
In low light autofocus is slower and more likely to grab the background. Continuous AF with a small group of points helps more than a single point, which easily loses the player in fast action. If your camera has tracking, set it so it doesn't jump straight to anyone who enters the frame. In a crowded box that saves a lot of photos.
Editing: noise, colour, contrast
Photos from an evening match almost always need three things:
- noise reduction: in Lightroom, Denoise on RAW files works best, usually around 40–60,
- colour correction: green grass without a yellow cast and natural skin tones,
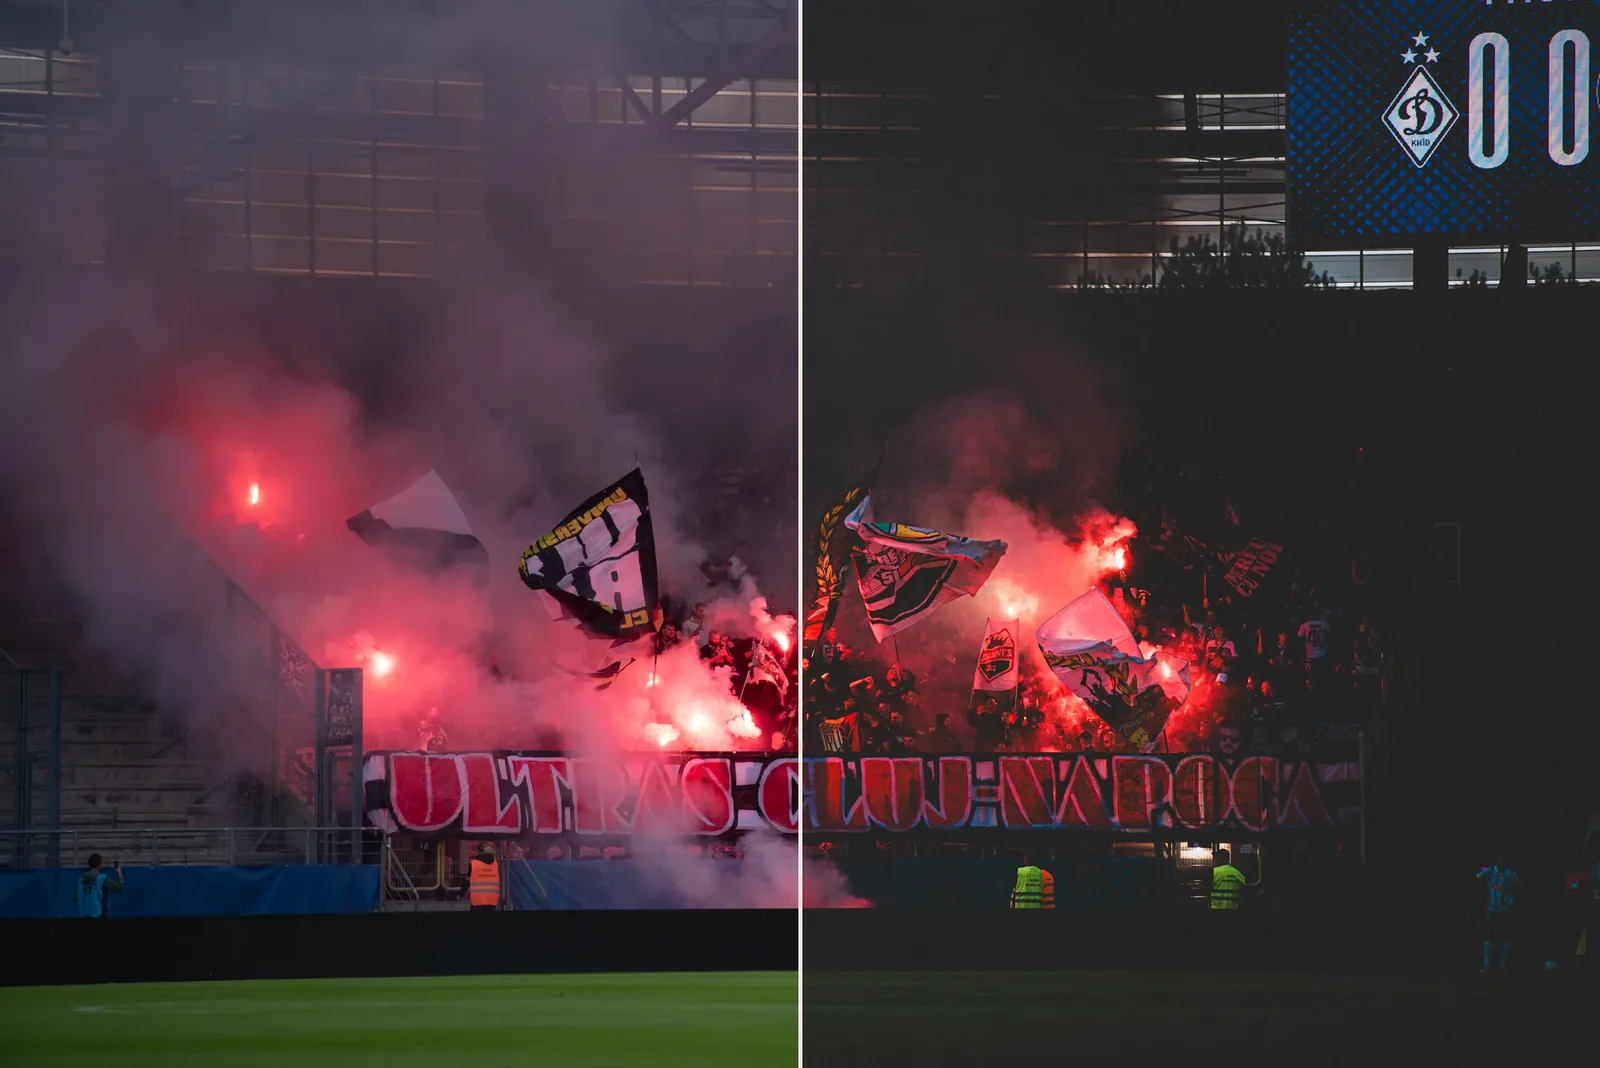
- contrast and depth: a darker background, light on the player and some of the floodlight mood.
Doing this from scratch on a few hundred match photos takes an evening. That's why I use my own presets, with separate ones for strong and weak floodlights, rain and flares. I apply them to the whole set and only fix exposure where needed.
Quick cheat sheet
- Shutter: 1/1000 s, for fast action 1/1250–1/1600 s.
- ISO: auto with a limit, in poor light 3200–6400 and more.
- White balance: manual, 3200–4500 K depending on the lamps.
- Exposure: watch the histogram, 1/3–2/3 EV darker for white kits.
- Flicker: flicker reduction, mechanical shutter, short bursts.
- Always RAW. Under floodlights it isn't optional.
Got a question about a specific ground or situation? Message me on Instagram @robertskalski_photography.